A VPN is one of the greatest upgrades you can make to your online life, regardless of whether you are attempting to access your services, safeguard your privacy, or get around geographic limits while traveling. Although there are several methods for setting up a VPN at home, DDNS can be useful if you want a more traditional OpenVPN or WireGuard configuration.
Without exposing security flaws or having to worry about frequently changing home IP addresses, a home VPN with dynamic DNS (DDNS) provides a safe method to access your resources from a distance.
We will go over how to set up a VPN and dynamic DNS at home so that your remote connections are safe and reliable even if your home IP address changes. Although there are other excellent options for setting up a VPN at home, such as using Tailscale, this is frequently a wonderful way to get started whether you need a more complex OpenVPN configuration or want to run your own jump box.
Why a VPN?
Setting up a home VPN makes sense for a variety of reasons, particularly when privacy and security are high priorities. You may access networked services, devices, media servers, and anything else you wish to operate on your home network by connecting to it through a virtual private network (VPN) just like you would if you were physically there.
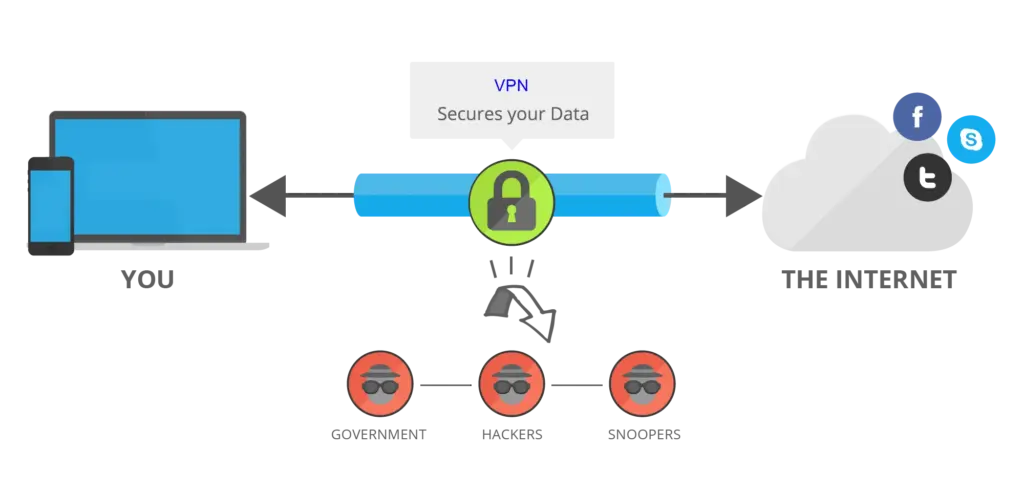
Nevertheless, dynamic IP addresses are given by a lot of household ISPs and change over time, particularly if your router reboots. Without knowing the current IP address, this makes it challenging to remotely connect to your home network. A dynamic DNS is useful in this situation. DDNS services make remote access simple by tracking your IP address, even if it changes, and connecting it to a unique domain name.
To set up dynamic DNS, you must have an existing domain configured. We will keep these instructions pretty basic because the particular steps to set this up will differ based on your nameserver host.
How to set up the VPN at home
Selecting the appropriate server software is the first step in configuring a home VPN. Both OpenVPN and WireGuard are well-liked open-source choices; but, due to its reliability, performance, and extensibility, WireGuard is becoming more and more favored over the legacy OpenVPN.
Nevertheless, we will be utilizing OpenVPN here because there are excellent free substitutes for a DDNS WireGuard based VPN (such as Tailscale and Headscale). Because of its proven security, OpenVPN is still widely used in business settings.
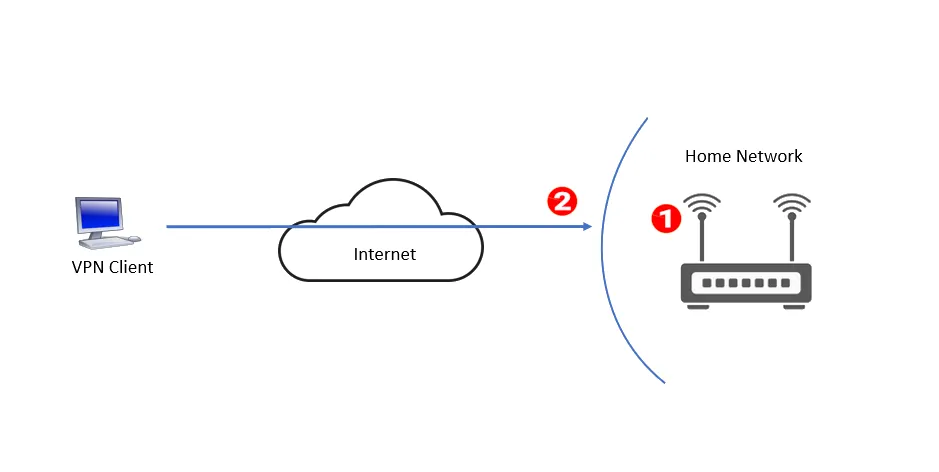
After deciding on a VPN program, you must install it on a device connected to your home network that will serve as the VPN server. This may be a dedicated computer, such a Raspberry Pi, your router (if it has VPN capabilities), or even a NAS running TrueNAS or something comparable.
Configure the VPN server
Configuration comes next after choosing your VPN server software. We will not go over everything again here because it is entirely up to you how you set up your server. Excellent instructions for configuring your own VPN on Proxmox with WireGuard are available on XDA.
The Ubuntu website has some excellent documentation for configuring your own server with OpenVPN if you are already using it. After everything is configured, you ought to be able to connect externally to your VPN and issue client certificates. Currently, the IP that your ISP has assigned you will determine these certificates as well as the IP/hostname of your server.
Set up dynamic DNS
After setting up a VPN, you can configure dynamic DNS. The majority of DDNS usually operate as an agent or other software on your network that makes regular, prearranged calls to the dynamic DNS server. This enables the server to determine the IP address from which your connection is originating and, in the event that it has changed, update your DNS records.
Numerous free dynamic DNS services are available, including DuckDNS, DynDNS, and No-IP. Because No-IP is a free service, we will be using it.
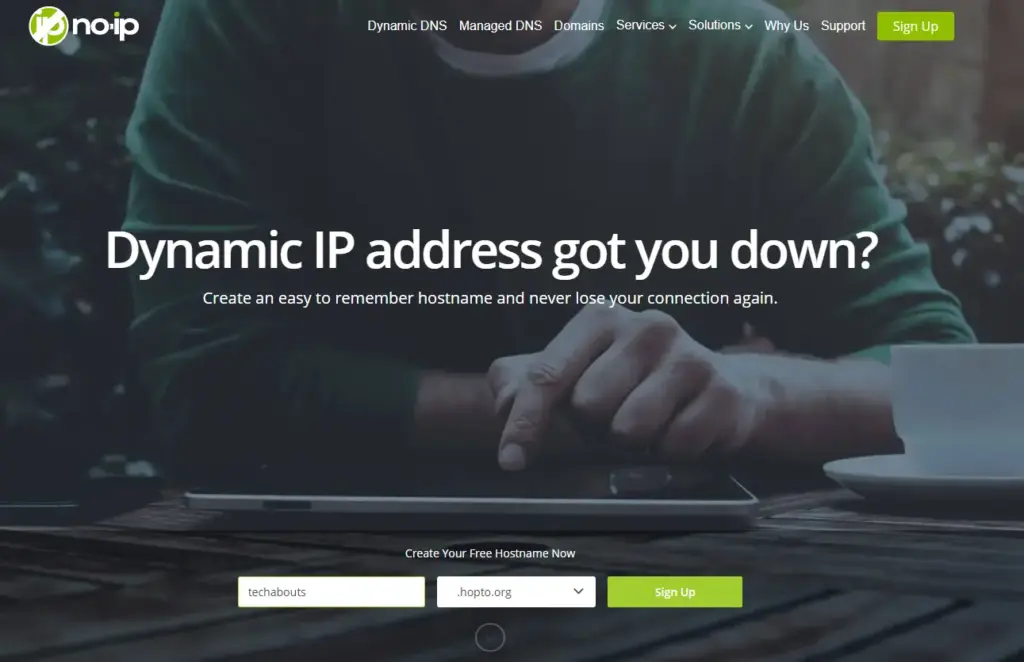
You must first register for a No-IP account. Click Sign Up after entering your preferred hostname (which is not very important) on their main page. To sign up, all you need to do is confirm your email address. There is a skip button in the upper right corner of the screen when you are asked why you are using No-IP, and the Free plan will be more than adequate.
You should notice your previously entered hostname already populated with the IP address you are connecting from when you navigate to the Hostnames tab after logging in.
After that is finished, configure DDNS on your network. If your router supports DDNS natively, you can set it up to ping servers automatically by following No-IP’s helpful tutorial. We recommend utilizing this No-IP docker container if you intend to operate a DDNS agent somewhere else.
This includes a straightforward script that, when executed, updates No-IP with your IP address on a regular basis. It is lightweight, compact, and compatible with a Raspberry Pi or comparable device.
Furthermore, there are many Linux and Windows-based applications that perform a similar function, so we advise researching them and selecting the one that best suits your needs.
Test your DDNS
We can test your DDNS, albeit it can be a little challenging. Make a note of your current IP address by first checking it. This IP should be the same as the one set up in your DDNS provider or No-IP. Next, launch your DDNS updater, which may be on a server, in an app on your computer, or on your router. Now disconnect your router, give it 10 minutes, and then plug it back in.
Check your IP address once more after your internet connection is operational again. Hopefully, your IP address has changed from the one you previously wrote down. This modification should be registered by your running agent and reflected in your DNS configuration in a matter of minutes.
Changing your VPN configuration to target your new domain name is the last step in the setup process. You can change the IP address or hostname of your configuration within select OpenVPN clients (or VPN clients in general). You can change your configuration file if you are not given this choice. This is as easy as using your DDNS’s new hostname in place of your previous IP address.
Enjoy!
To be clear, dynamic DNS is a great approach to set up a home VPN that is always available, but depending on your use case, there are simpler options as well. I personally choose OpenVPN because it is very expandable, performs well, and is simpler to use than other tools for setting regulated and extended access to a larger, multi-location network. However, there are other options available, such as the VPN service that can be accessed through your router, if you want a really straightforward setup.
However, DDNS is a terrific solution to overcome one of the most bothersome issues for those of us with large home networks and no way to obtain a static IP address, if you are seeking for a more complex challenge or want the complete control that comes with directly running your own VPN.


